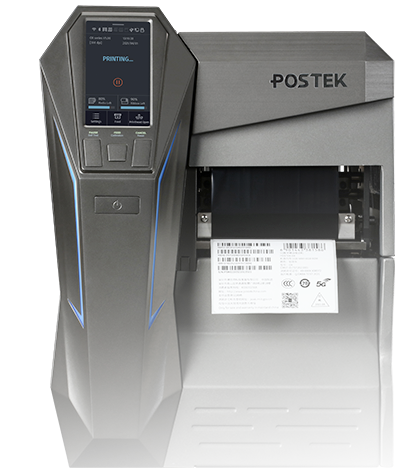
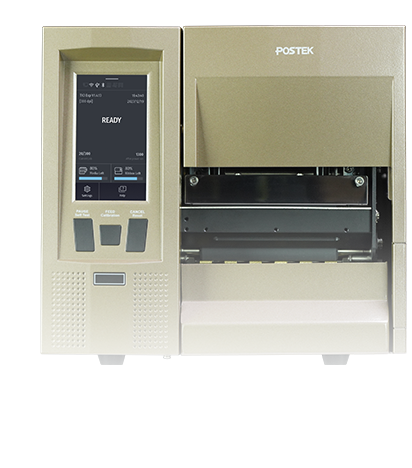



1. Incorrect label installation
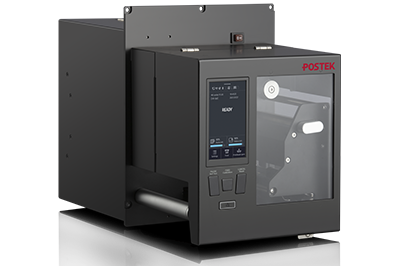
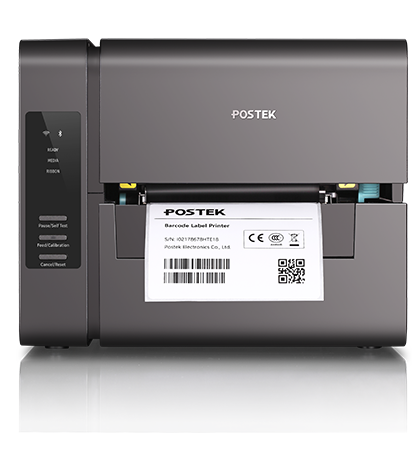
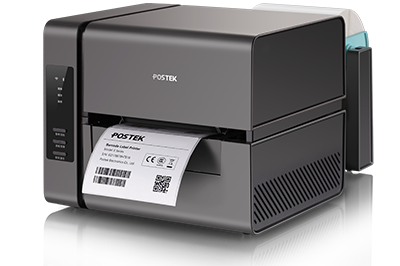
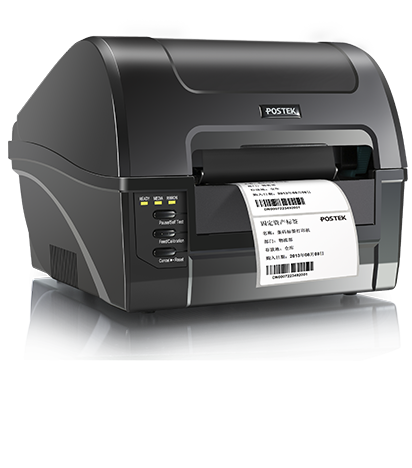
Please re-examine the installation of the media. Video demonstration of proper media installation can be found in the download link below:
2. Printing without calibration or calibration errors
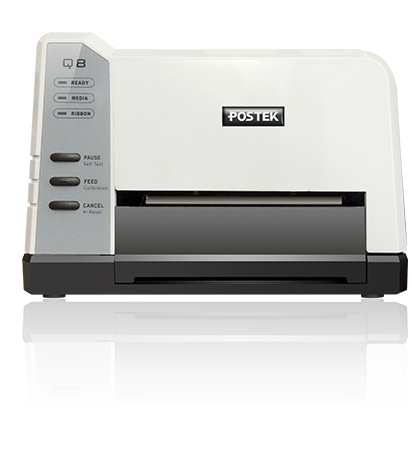
Proper media calibration is crucial to the printer's accuracy. Follow the steps below to initiate the automatic media calibration sequence: Press and hold the [Feed/Calibration] button(around 4 seconds). The printer will begin feeding media for calibration purposes. The maximum length of media that the printer feeds for calibration can be adjusted through the printer companion app "Utility" (Please see "Utility" help page for more information). During calibration, the [READY], [MEDIA], and [RIBBON] indicators will blink simultaneously. The media calibration sequence is complete when all three indicators resume their solid state.
Note:
(1) If the label have a black line on the back, or the positioning hole on the label is not in the center of the label, please use the reflective media sensor(the DIP switch 5 on the back of the printer should be switched to off);
(2)Other types of media could have better media positioning accuracy when using the transmissive media sensor. If there are an even number of labels per row, the position of the transmissive media sensor should be on the right(default position). Only when using a label with a hole in the center should the transmissive media sensor be placed in the middle.
3. Incorrect label parameters
Please measure the label's width and height with a ruler(Width would be the horizontal parameter and the height would be the verticle parameter. The label's height doesn't include position guides such as gaps, holes, or blackmarks)
1.1 If editing through the label editing software BarTender, Select "Page Setup" under "File". The label parameters can be adjusted under the "Page". Adjust the "Height" and "Width" parameters as needed. Under the "Layout" tab, adjust "Rows", "Columns", "Margins-Left", "Margins-Right", and "Gap-Horizontal" parameters as needed. After the necessary parameters have been adjusted, click "OK" to confirm your parameter adjustments.
2.2 If printing through third-party software, select the Printing Preferences page in the printer driver. Underneath "Page Setup", click on "New" or "Edit", and input the label "Width and Height" parameters. Click on "OK" to confirm your parameter changes.
4. Technical support
If the problem persists despite the potential remedies listed above, please contact our technical support team for the next steps.